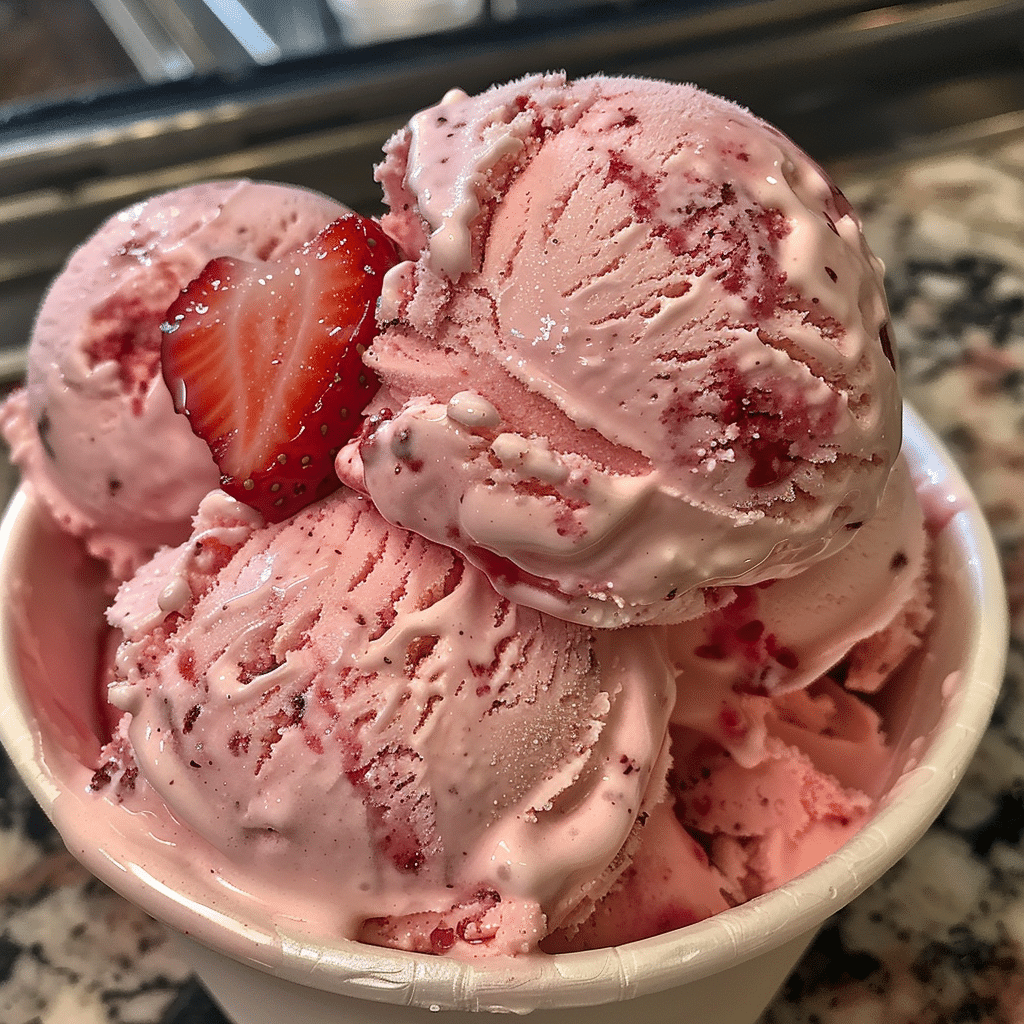
Nothing captures the taste of summer quite like Strawberry Vanilla Bean Ice Cream — a creamy, dreamy dessert that’s bursting with fresh strawberry flavor and the aromatic warmth of real vanilla. This homemade ice cream is smooth, rich, and perfectly balanced — not too sweet, not too heavy. Each spoonful offers the freshness of ripe strawberries blended with the subtle, floral sweetness of vanilla bean. I made this recipe once using coconut milk instead of heavy cream, and it still turned out wonderfully luscious with a light tropical twist. Whether served in a cone, alongside a slice of cake, or on its own, this ice cream is pure happiness frozen into every scoop.
Why You’ll Love This Recipe
This ice cream is the perfect marriage of fruity freshness and creamy indulgence. Unlike store-bought versions, it’s made with real strawberries and genuine vanilla bean, giving it an authentic flavor you won’t forget. It’s easy to make, requires only a few simple ingredients, and can be customized to your liking — from extra berry chunks to a hint of lemon. It’s a crowd-pleaser that’s as beautiful as it is delicious, with flecks of vanilla throughout and that signature pink hue from natural strawberries.
Print
Strawberry Vanilla Bean Ice Cream: A Silky-Smooth Scoop of Summer Bliss
- Total Time: 6 hrs (including chilling and freezing)
- Yield: 1 quart (about 6 servings)
- Diet: Vegetarian
Description
A rich and creamy homemade ice cream infused with fragrant vanilla bean and swirled with fresh, sweet strawberries — a classic frozen dessert perfect for summer days or any time you crave something refreshing and indulgent.
Ingredients
- 2 cups heavy cream
- 1 cup whole milk
- 3/4 cup granulated sugar
- 1 vanilla bean (split and scraped) or 2 teaspoons pure vanilla extract
- 4 large egg yolks
- 1 1/2 cups fresh strawberries, hulled and chopped
- 2 tablespoons sugar (for strawberries)
- 1 teaspoon lemon juice
Instructions
- In a small saucepan, combine chopped strawberries, 2 tablespoons sugar, and lemon juice. Cook over medium heat for 5–7 minutes until the strawberries soften and release their juices. Mash lightly and let cool completely.
- In a medium saucepan, combine milk, half of the cream, sugar, and the vanilla bean seeds and pod (or extract). Heat over medium heat until the mixture is hot but not boiling.
- In a separate bowl, whisk egg yolks until smooth. Slowly pour a small amount of the hot milk mixture into the yolks while whisking constantly to temper them.
- Gradually add the tempered yolks back into the saucepan, whisking constantly. Cook over low heat for 5–7 minutes, stirring until the mixture thickens enough to coat the back of a spoon.
- Remove from heat, discard the vanilla pod, and stir in the remaining cream. Let cool to room temperature, then refrigerate for at least 4 hours or overnight.
- Once chilled, churn the mixture in an ice cream maker according to manufacturer’s instructions.
- During the last 2 minutes of churning, swirl in the cooled strawberry mixture.
- Transfer to an airtight container and freeze for at least 3 hours until firm.
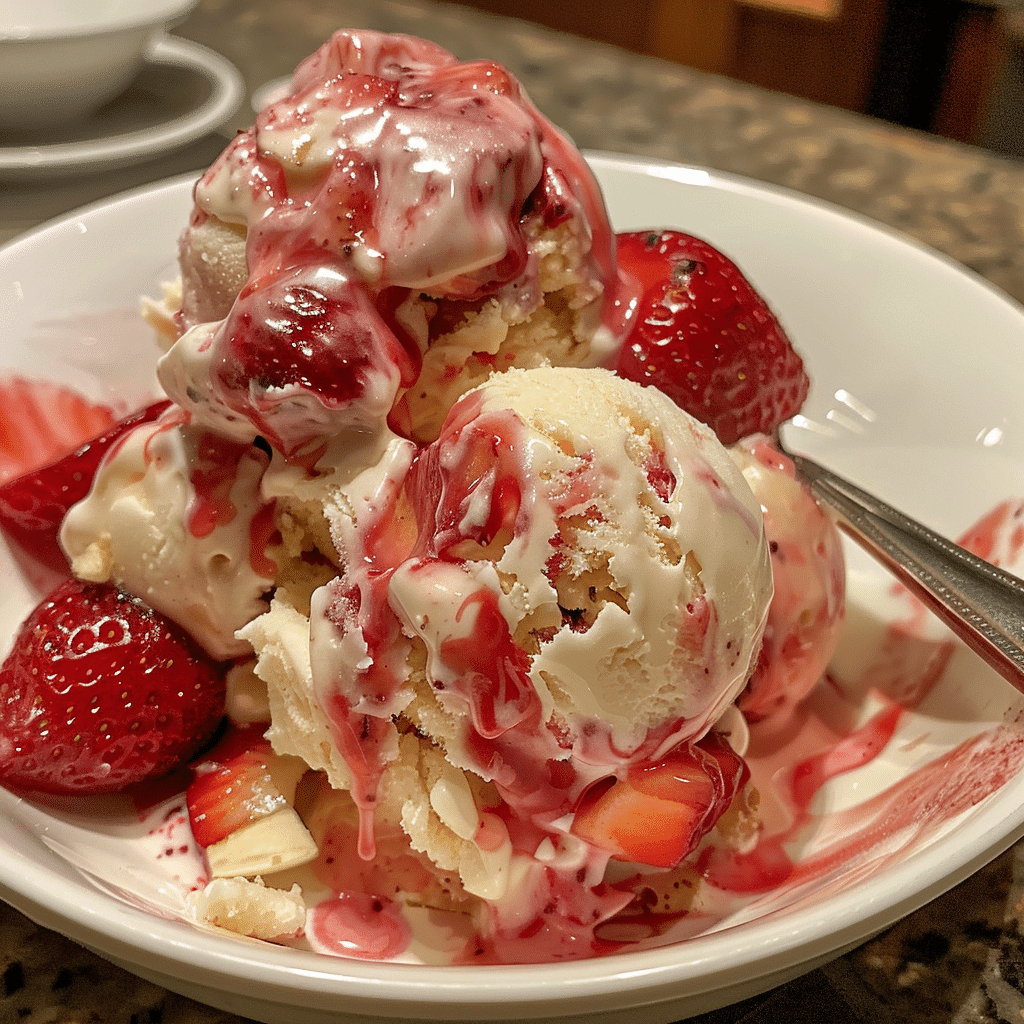
- Serve scoops topped with extra strawberry sauce or fresh fruit if desired.
Notes
- For a stronger vanilla flavor, steep the vanilla bean in the milk mixture for 15 minutes before straining.
- Use frozen strawberries if fresh ones aren’t available — just thaw and drain before cooking.
- To make it egg-free, skip the yolks and use 2 teaspoons cornstarch to thicken the base.
- Store in the freezer for up to 2 weeks for best texture and flavor.
- Prep Time: 20 mins
- Cook Time: 10 mins
- Category: Dessert
- Method: Churned
- Cuisine: American
Ingredients
(Tip: You can find the complete list of ingredients and their measurements in the recipe card below.)
Fresh strawberries – The heart of this recipe, providing natural sweetness, color, and bright berry flavor.
Sugar – Sweetens the ice cream and helps soften the texture so it freezes smoothly.
Lemon juice – Enhances the strawberry flavor and balances the sweetness.
Heavy cream – Gives the ice cream its creamy, rich texture.
Whole milk – Lightens the mixture while maintaining creaminess.
Vanilla bean – Adds luxurious flavor and those signature specks that make this ice cream so special. If unavailable, pure vanilla extract works as well.
Egg yolks – Thicken the custard base, giving the ice cream a smooth, velvety consistency.
Salt – A pinch helps balance and enhance the sweetness.
Directions
- In a medium saucepan, combine the chopped strawberries, half of the sugar, and lemon juice. Cook over medium heat for 10 minutes until the berries break down and the mixture thickens slightly. Mash lightly with a fork or potato masher. Let cool completely.
- In a separate saucepan, heat milk, heavy cream, and the split vanilla bean (seeds scraped into the mixture) over medium heat until just steaming. Do not boil. Remove from heat and let steep for 10 minutes.
- In a mixing bowl, whisk the egg yolks and the remaining sugar until pale and thick.
- Gradually pour a small amount of the warm milk mixture into the yolks while whisking constantly to temper them. Slowly add the rest while continuing to whisk.
- Return the mixture to the saucepan and cook over low heat, stirring constantly, until it thickens enough to coat the back of a spoon (about 5–7 minutes). Do not let it boil.
- Strain the custard through a fine-mesh sieve into a clean bowl to remove any solids and the vanilla bean pod.
- Stir in the cooled strawberry mixture and a pinch of salt. Mix well, then cover and refrigerate for at least 4 hours or overnight.
- Once chilled, churn the mixture in an ice cream maker according to the manufacturer’s instructions until it reaches a soft-serve consistency.
- Transfer to a freezer-safe container and freeze for 3–4 hours until firm. Scoop and serve.
Equipment needed :
Must-Have Tools to Get Rolling
Here’s what you’ll want to have on hand:
Silicone Spatula – Durable, heat-resistant silicone spatula perfect for mixing, scraping, and spreading. Gentle on non-stick cookware and easy to clean.
Large pot – You’ll need this to boil the whole cabbage head and soften the leaves.
large bowl –Spacious, durable large bowl ideal for mixing, serving, or food preparation. Made from sturdy material and easy to clean.
Sharp knife – For coring the cabbage and slicing out the thick stem in each leaf. A paring knife works best.
Mixing bowl – A big bowl makes it easier to combine your meat and rice filling evenly.
Cutting board – For prepping cabbage leaves and rolling them like a pro.
9×13-inch baking dish – Ideal size to fit your rolled cabbage leaves snugly and prevent them from unraveling.
knife – A sharp, durable kitchen knife perfect for slicing, chopping, and dicing with ease
Servings and timing
This recipe makes about 6 servings (1.5 quarts).
Prep time: 20 minutes
Cook time: 15 minutes
Chilling and freezing time: 6 hours
Total time: 6 hours 35 minutes
Storage/reheating
Store the ice cream in an airtight container in the freezer for up to 2 weeks. To serve, let it sit at room temperature for 5–10 minutes to soften slightly before scooping. For best results, press a piece of parchment paper directly on the surface before sealing to prevent ice crystals.
Variations and Customizations
No-Churn Version: Whip 2 cups of heavy cream and fold it into a mixture of sweetened condensed milk, strawberry puree, and vanilla extract for a quick, creamy no-churn option.
Roasted Strawberry Twist: Roast the strawberries with a bit of sugar and balsamic vinegar before blending for a deeper, caramelized flavor.
Chocolate Swirl: Add ribbons of melted chocolate or chocolate fudge for a decadent touch.
Coconut Cream Delight: Replace heavy cream with coconut cream for a tropical and dairy-free version.
Strawberry Shortcake Style: Stir in crushed shortbread cookies or sponge cake pieces before freezing.
Berry Medley: Mix in raspberries or blueberries for a vibrant, fruity mix.
Honey Vanilla Upgrade: Swap part of the sugar for honey to add a floral note and smoother texture.
Balsamic Infusion: Add a teaspoon of aged balsamic vinegar for a sophisticated, tangy balance.
Lemon Zest Pop: Stir in fresh lemon zest to brighten the flavors.
Nutty Crunch: Sprinkle chopped pistachios or almonds over each serving for texture and contrast.
FAQs
1. Can I make this without an ice cream maker?
Yes, pour the chilled mixture into a shallow dish, freeze, and stir every 30 minutes for 3 hours until creamy.
2. Can I use frozen strawberries?
Absolutely. Thaw and drain them well before cooking.
3. Can I skip the egg yolks?
You can, but the ice cream will be less creamy. Substitute with 1 tablespoon of cornstarch for slight thickening.
4. What’s the best way to prevent ice crystals?
Keep the mixture very cold before churning and cover tightly when freezing.
5. Can I use vanilla extract instead of vanilla bean?
Yes, 2 teaspoons of vanilla extract works well. Add it after cooking the custard.
6. Is this recipe gluten-free?
Yes, all ingredients are naturally gluten-free.
7. Can I reduce the sugar?
Yes, but it may slightly alter the texture and freezing consistency.
8. How do I make it vegan?
Use coconut milk, skip egg yolks, and add a tablespoon of cornstarch for creaminess.
9. Can I add chunks of strawberries?
Definitely! Stir in chopped fresh strawberries before freezing for extra texture.
10. How long should I churn the ice cream?
Typically 20–25 minutes, or until it reaches soft-serve consistency.
Conclusion
Strawberry Vanilla Bean Ice Cream is the perfect balance of creamy indulgence and fruity freshness. The real vanilla bean elevates the flavor, while the strawberries bring a burst of natural sweetness that feels like summer in every bite. Whether you enjoy it in a waffle cone or a bowl topped with extra berries, this homemade ice cream delivers pure joy. Once you make it from scratch, you’ll never want to go back to store-bought again.
Hungry for more? Visit our website for full recipes and follow us on Pinterest for daily foodie inspo you’ll love to pin!