Why You’ll Love This Recipe
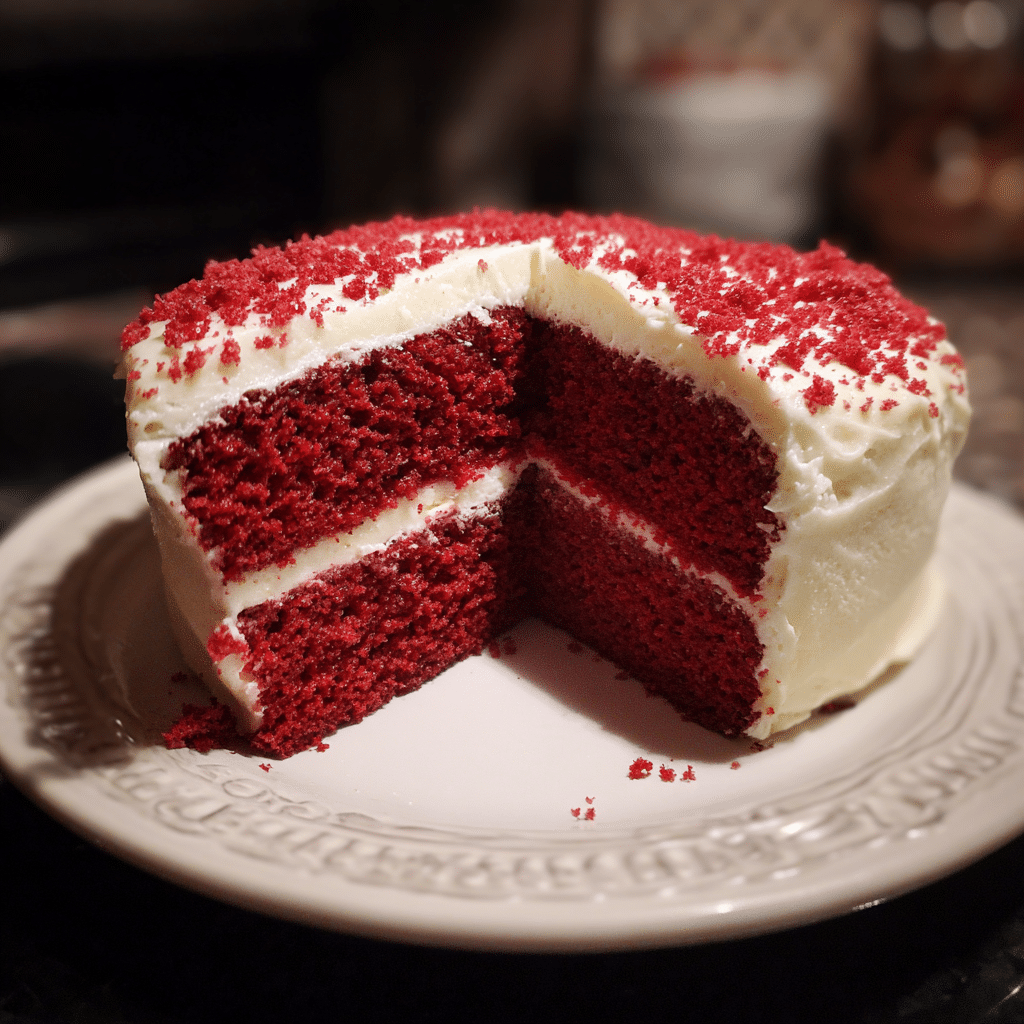
Red Velvet Buttermilk Cake is a timeless dessert that never fails to impress with its striking red hue, tender crumb, and subtle cocoa flavor. The buttermilk not only enhances the softness of the cake but also balances the sweetness with a gentle tang, making each bite perfectly moist and flavorful. Paired with a luscious cream cheese frosting, this cake is rich yet light enough to keep you coming back for seconds. Ideal for birthdays, holidays, weddings, or everyday indulgence, Red Velvet Cake is as elegant as it is delicious. Its dramatic appearance makes it a centerpiece-worthy dessert, while its balanced flavors ensure it remains a favorite across generations. Whether baked as a layer cake, sheet cake, or cupcakes, this recipe delivers bakery-quality results every time.
Print
Red Velvet Buttermilk Cake Recipe: A Classic Dessert with Timeless Charm
- Total Time: 40 mins
- Yield: 18 cookies
- Diet: Vegetarian
Description
Soft and chewy cookies filled with a creamy cheesecake center and swirled with sweet strawberry jam, creating a decadent dessert in every bite.
Ingredients
- 2 1/4 cups all-purpose flour
- 1/2 tsp baking soda
- 1/2 tsp salt
- 3/4 cup unsalted butter, softened
- 3/4 cup brown sugar, packed
- 1/2 cup granulated sugar
- 1 large egg
- 1 large egg yolk
- 2 tsp vanilla extract
- 1 cup white chocolate chips
- 8 oz cream cheese, softened
- 1/4 cup powdered sugar
- 1/2 tsp vanilla extract (for filling)
- 1/3 cup strawberry jam
Instructions
- Preheat oven to 350°F (175°C) and line baking sheets with parchment paper.
- In a bowl, whisk together flour, baking soda, and salt. Set aside.
- Cream butter, brown sugar, and granulated sugar until light and fluffy.
- Beat in egg, egg yolk, and vanilla until combined.
- Gradually add dry ingredients, mixing until just combined. Stir in white chocolate chips.
- In a separate bowl, mix cream cheese, powdered sugar, and vanilla until smooth.
- Scoop 2 tbsp of cookie dough and flatten. Place 1 tsp cream cheese mixture and 1/2 tsp strawberry jam in the center. Cover with another tbsp of dough and seal edges to form a ball.
- Place cookies 2 inches apart on baking sheets.
- Bake 12–14 minutes, until edges are lightly golden. Cool on the pan for 5 minutes before transferring to a rack.
Notes
- Chill dough for 30 minutes before stuffing for easier handling.
- Use seedless strawberry jam for a smoother texture.
- Cookies are best enjoyed slightly warm when the filling is gooey.
- Store leftovers in the refrigerator for up to 5 days.
- Prep Time: 25 mins
- Cook Time: 15 mins
- Category: Dessert
- Method: Baking
- Cuisine: American
Ingredients
(Tip: You can find the complete list of ingredients and their measurements in the recipe card below.)
All-Purpose Flour – The foundation of the cake, giving it structure and a tender crumb.
Cocoa Powder – Provides a subtle chocolate flavor that defines red velvet cake.
Granulated Sugar – Sweetens the batter and helps achieve a light, fluffy texture.
Baking Soda – Ensures the cake rises properly and keeps the crumb airy.
Salt – Balances the sweetness and enhances the cocoa flavor.
Eggs – Bind the ingredients together and contribute to the cake’s richness.
Vegetable Oil – Adds moisture, keeping the cake soft for days.
Buttermilk – The key ingredient that gives the cake its moist texture and slight tang.
Red Food Coloring – Creates the signature deep red hue that makes the cake visually stunning.
Vinegar – Reacts with baking soda for extra lift while keeping the crumb delicate.
Vanilla Extract – Rounds out the flavor and enhances the cocoa notes.
Cream Cheese – The star of the frosting, adding tangy richness.
Butter – Combines with cream cheese to create a smooth, creamy frosting base.
Powdered Sugar – Sweetens the frosting while maintaining a silky texture.
Directions
Preheat your oven and prepare two 9-inch round cake pans by greasing and lining them with parchment paper. In a medium bowl, sift together flour, cocoa powder, baking soda, and salt.
In a large mixing bowl, beat sugar and vegetable oil until well combined. Add eggs one at a time, followed by vanilla extract and red food coloring. Mix in the dry ingredients alternately with buttermilk, beginning and ending with the flour mixture. Finally, stir in vinegar for added lift.
Divide the batter evenly between the prepared pans and smooth the tops. Bake until a toothpick inserted into the center comes out clean. Allow cakes to cool in the pans briefly before transferring to a wire rack to cool completely.
For the frosting, beat softened cream cheese and butter until fluffy. Gradually add powdered sugar, mixing until smooth. Spread a generous layer between the cooled cakes, then frost the top and sides. Garnish with cake crumbs or chocolate shavings if desired.
Servings and timing
This recipe makes 12 servings. Preparation takes about 20 minutes, baking requires 30–35 minutes, and cooling plus frosting adds another 45 minutes.
Storage/reheating
Store the frosted cake covered in the refrigerator for up to 5 days. For best flavor and texture, let slices come to room temperature before serving. The cake layers (without frosting) can also be wrapped and frozen for up to 2 months.
Variations and Customizations
Cupcake Version – Bake the batter in muffin tins for individual portions.
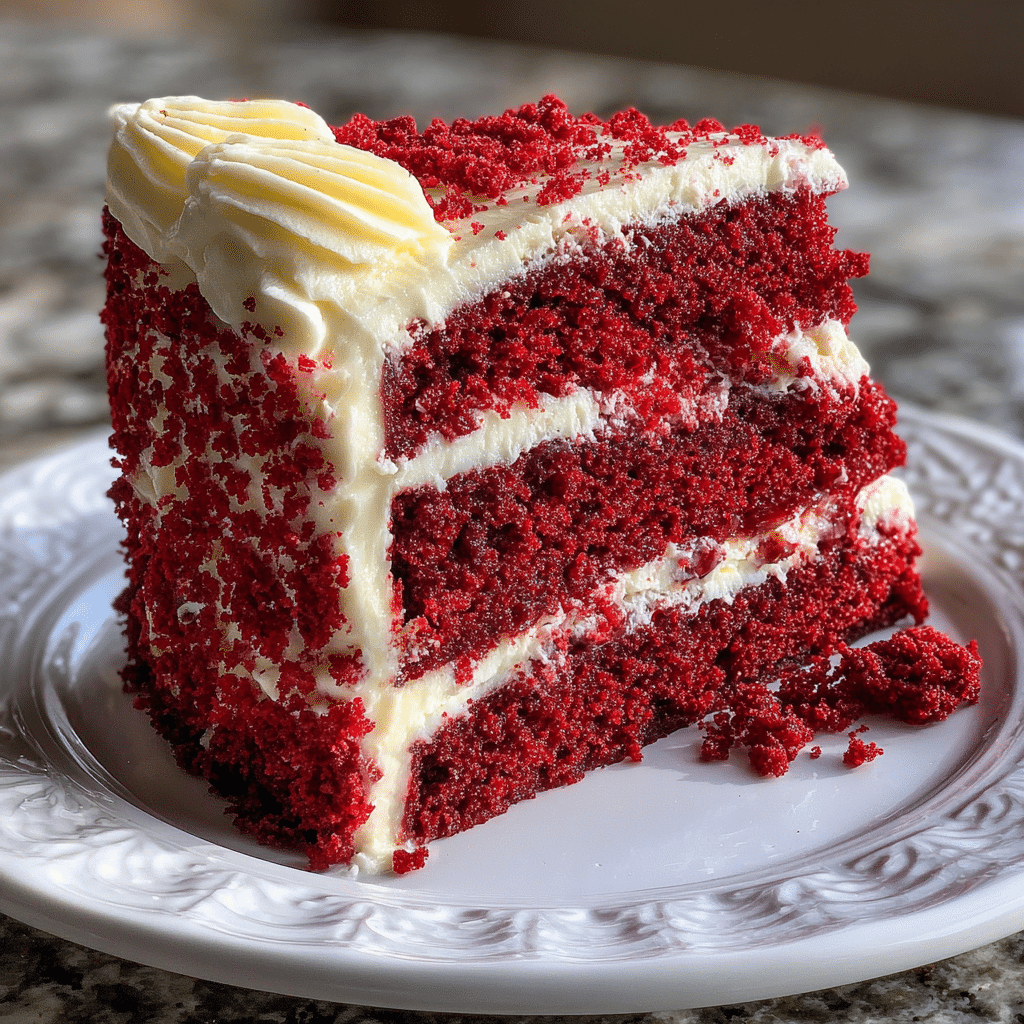
Layered Elegance – Make a three-layer cake for a taller, more dramatic presentation.
Naked Cake – Apply a thin coat of frosting to show off the cake layers for a rustic look.
Chocolate Twist – Add extra cocoa powder for a richer chocolate flavor.
Holiday Style – Decorate with red and green sprinkles or berries for a festive touch.
Nutty Garnish – Top with chopped pecans or walnuts for added crunch.
Whipped Frosting – Use a whipped cream cheese frosting for a lighter option.
Marble Effect – Swirl in chocolate batter for a striking visual.
Mini Cakes – Bake in mini pans or ramekins for individual servings.
Cheesecake Layer – Add a baked cheesecake layer between cake layers for an ultra-decadent version.
FAQs
Why does red velvet cake use buttermilk?
Buttermilk keeps the cake moist and balances sweetness with tang.
Can I make this cake without food coloring?
Yes, but it will lack the signature red hue. The flavor will remain the same.
What’s the best frosting for red velvet cake?
Classic cream cheese frosting is traditional and complements the flavors perfectly.
Can I use butter instead of oil?
Yes, but oil keeps the cake more moist over time.
How do I prevent the cake from doming?
Bake at the correct temperature and avoid overmixing the batter.
Can I make this cake ahead of time?
Yes, bake the layers a day ahead, wrap tightly, and frost the next day.
Is red velvet just chocolate cake?
No, it has less cocoa and is distinctively flavored with buttermilk and vinegar.
Conclusion
Red Velvet Buttermilk Cake is a classic dessert that combines elegance with irresistible flavor. With its moist crumb, subtle cocoa notes, and tangy cream cheese frosting, it remains a favorite for all occasions. Its striking appearance makes it as beautiful as it is delicious, ensuring it will impress guests and satisfy cravings. Whether you bake it as a layer cake, cupcakes, or even a sheet cake, this recipe delivers consistent, bakery-worthy results every time. A true timeless treat, Red Velvet Buttermilk Cake deserves a permanent place in your baking repertoire.