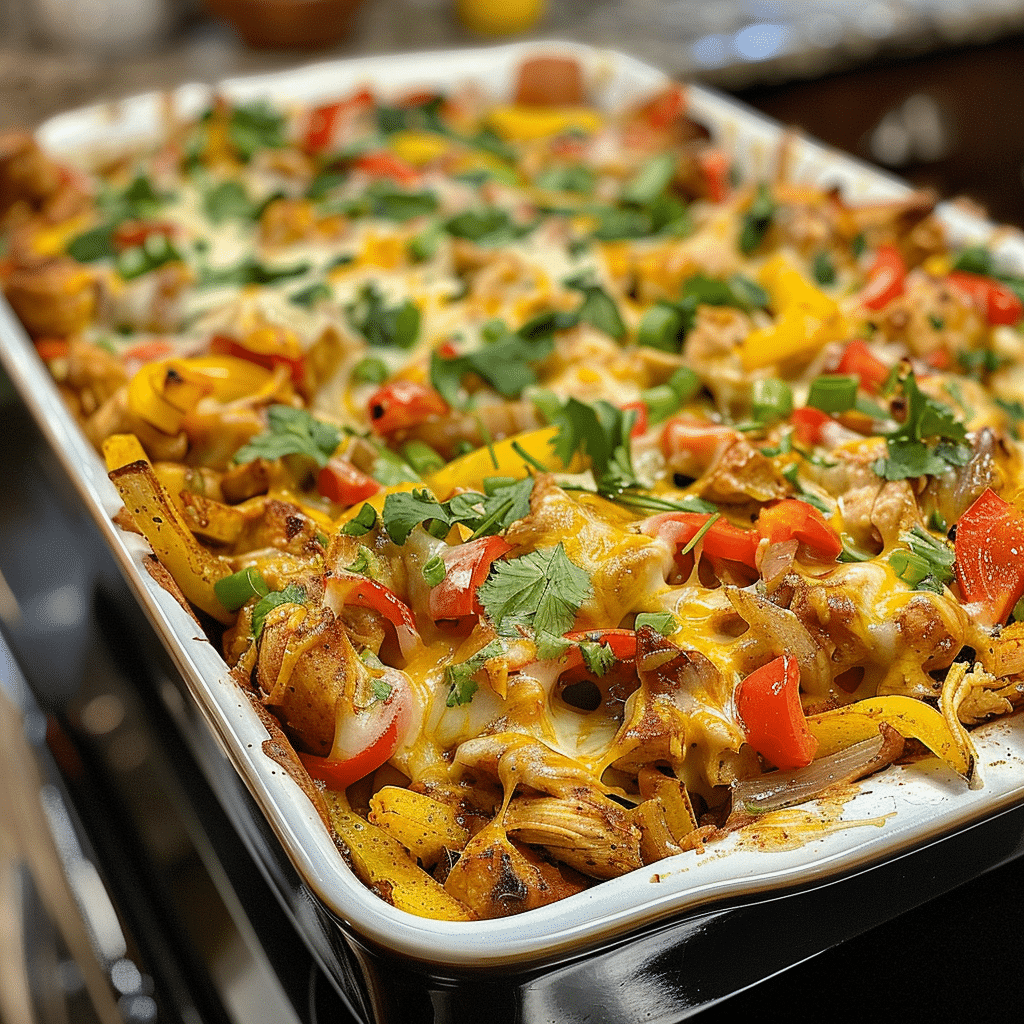
This Fajita Chicken Casserole brings all the sizzling flavors of fajitas—tender chicken, bell peppers, onions, and bold spices—into one bubbling, creamy, and cheesy bake. It’s everything you love about fajitas without the need for tortillas or extra prep. With a luscious cream sauce and golden melted cheese on top, this casserole is hearty, flavorful, and weeknight-friendly.
When I first made it, I used leftover rotisserie chicken, and it turned out amazing—rich, colorful, and bursting with that smoky fajita flavor. I’ve also swapped sour cream for Greek yogurt for a lighter version, and it worked perfectly. Whether you serve it over rice, with tortilla chips, or enjoy it on its own, this dish is a guaranteed family favorite.
Why You’ll Love This Recipe
This casserole captures the essence of sizzling fajitas in an easy, comforting bake. It’s creamy, cheesy, and layered with Tex-Mex spices that fill your kitchen with an irresistible aroma. You’ll love that it’s quick to prepare, uses simple ingredients, and reheats beautifully—perfect for busy nights or meal prep.
Print
Fajita Chicken Casserole – A Creamy, Cheesy Tex-Mex Comfort Dish
- Total Time: 40 mins
- Yield: 6 servings
Description
A cheesy, flavorful Fajita Chicken Casserole loaded with tender chicken, bell peppers, onions, and creamy melted cheese. This easy one-pan dinner captures all the bold Tex-Mex flavors of fajitas in comforting casserole form.
Ingredients
- 2 lbs boneless, skinless chicken breasts, sliced thin
- 1 red bell pepper, sliced
- 1 green bell pepper, sliced
- 1 yellow bell pepper, sliced
- 1 medium onion, sliced
- 2 tbsp olive oil
- 1 tsp chili powder
- 1 tsp cumin
- 1 tsp smoked paprika
- 1/2 tsp garlic powder
- 1/2 tsp onion powder
- 1/2 tsp salt
- 1/4 tsp black pepper
- 1 (8 oz) package cream cheese, softened
- 1/2 cup sour cream
- 1 cup shredded cheddar cheese
- 1 cup shredded Monterey Jack cheese
- Fresh cilantro, chopped (for garnish)
- Lime wedges, for serving (optional)
Instructions
- Preheat oven to 375°F (190°C) and lightly grease a 9×13-inch baking dish.
- In a large bowl, toss sliced chicken with olive oil, chili powder, cumin, smoked paprika, garlic powder, onion powder, salt, and pepper until well coated.
- Heat a skillet over medium-high heat. Sear the chicken for 3–4 minutes per side until lightly browned (it doesn’t need to be fully cooked). Remove and set aside.
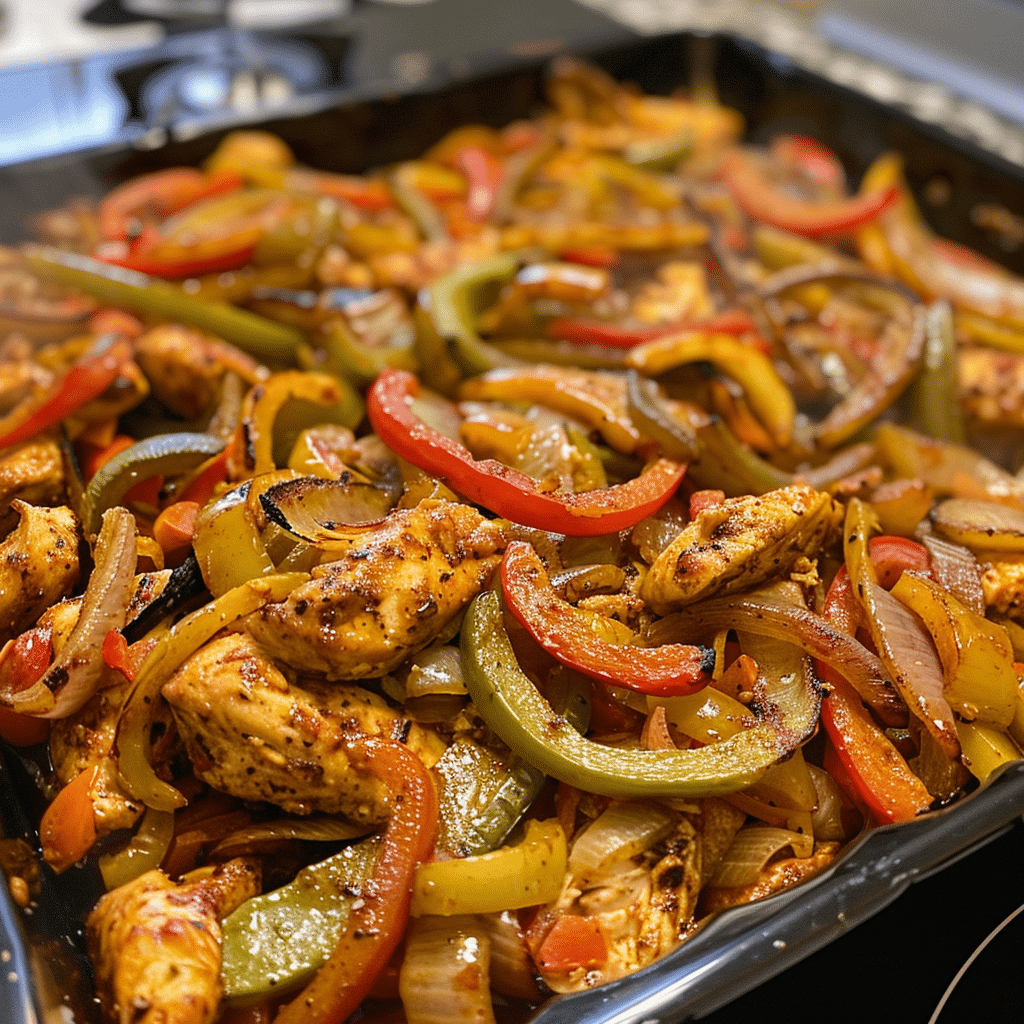
- In the same skillet, add bell peppers and onions. Sauté for 4–5 minutes until slightly softened, then remove from heat.
- In a mixing bowl, combine cream cheese and sour cream until smooth. Stir in half of the shredded cheeses.
- Spread a thin layer of the cream mixture in the prepared baking dish. Add the cooked chicken and vegetables on top, then spread the remaining cream mixture evenly over everything.
- Top with the remaining cheddar and Monterey Jack cheese.
- Bake uncovered for 20–25 minutes, or until hot and bubbly with golden, melted cheese on top.
- Garnish with chopped cilantro and serve with lime wedges, if desired.
Notes
- For extra spice, add diced jalapeños or a pinch of cayenne pepper to the seasoning.
- Great served with rice, tortillas, or over cauliflower rice for a low-carb version.
- Store leftovers in the fridge for up to 4 days or freeze for up to 2 months.
- Try adding black beans or corn for more texture and flavor.
- Prep Time: 15 mins
- Cook Time: 25 mins
- Category: Main Course
- Method: Baking
- Cuisine: Tex-Mex
Ingredients
(Tip: You can find the complete list of ingredients and their measurements in the recipe card below.)
Cooked chicken – Shredded or cubed rotisserie chicken works best for convenience and flavor.
Bell peppers – Use a mix of red, yellow, and green for color and sweetness.
Onion – Sautéed with the peppers, it adds depth and that signature fajita aroma.
Cream cheese – The creamy base that ties the casserole together and makes it rich.
Sour cream – Adds tanginess and smoothness to the sauce.
Shredded cheese – A blend of cheddar, Monterey Jack, or Mexican cheese melts perfectly on top.
Olive oil – Used to sauté the vegetables until slightly tender.
Fajita seasoning – The flavor powerhouse! A mix of chili powder, cumin, paprika, garlic powder, and a touch of cayenne for heat.
Salt and black pepper – To enhance and balance the flavors.
Fresh cilantro (optional) – Adds brightness and freshness to the finished dish.
Lime juice – Brings acidity and balances the richness of the casserole.
Directions
Preheat your oven to 375°F (190°C) and lightly grease a 9×13-inch baking dish.
In a large skillet, heat olive oil over medium heat. Add sliced bell peppers and onion, cooking for 5–6 minutes until softened and slightly caramelized. Sprinkle half the fajita seasoning over them while cooking.
In a separate bowl, combine softened cream cheese, sour cream, remaining fajita seasoning, lime juice, salt, and pepper. Mix until smooth and creamy.
Add the cooked chicken to the cream mixture and stir until the chicken is evenly coated.
Spread half of the chicken mixture into the prepared baking dish, layer with the sautéed peppers and onions, and top with the remaining chicken mixture. Sprinkle shredded cheese evenly over the top.
Bake uncovered for 25–30 minutes, or until the cheese is melted and bubbling.
Let it rest for 5 minutes before serving. Garnish with fresh cilantro and an extra squeeze of lime if desired.
I love serving this over a bed of rice or with warm tortillas—it feels like fajita night, but even easier.
Equipment needed :
Must-Have Tools to Get Rolling
Here’s what you’ll want to have on hand:
Silicone Spatula – Durable, heat-resistant silicone spatula perfect for mixing, scraping, and spreading. Gentle on non-stick cookware and easy to clean.
Large pot – You’ll need this to boil the whole cabbage head and soften the leaves.
large bowl –Spacious, durable large bowl ideal for mixing, serving, or food preparation. Made from sturdy material and easy to clean.
Sharp knife – For coring the cabbage and slicing out the thick stem in each leaf. A paring knife works best.
Mixing bowl – A big bowl makes it easier to combine your meat and rice filling evenly.
Cutting board – For prepping cabbage leaves and rolling them like a pro.
9×13-inch baking dish – Ideal size to fit your rolled cabbage leaves snugly and prevent them from unraveling.
knife – A sharp, durable kitchen knife perfect for slicing, chopping, and dicing with ease
Servings and timing
This recipe serves 6 people.
Preparation time: 15 minutes
Cooking time: 30 minutes
Total time: 45 minutes
Storage/reheating
Store leftovers in an airtight container in the refrigerator for up to 4 days. Reheat in the oven at 350°F (175°C) for 15 minutes or in the microwave for 1–2 minutes. You can also freeze the unbaked casserole (without cheese on top) for up to 2 months—just thaw overnight and bake when ready.
Variations and Customizations
Low-Carb Version – Skip the rice or tortillas and enjoy it as is—it’s naturally keto-friendly.
Spicy Fajita Bake – Add diced jalapeños or a pinch of cayenne for an extra kick.
Rice Layered Casserole – Add a layer of cooked rice at the bottom for a heartier meal.
Black Bean and Corn Add-In – Stir in black beans and corn for added texture and flavor.
Guacamole Topping – Serve each portion with a spoonful of guacamole or sliced avocado.
Tex-Mex Fiesta – Add a can of diced tomatoes with green chilies for even more zest.
Cheesy Explosion – Mix some cheese into the chicken filling as well as on top for double the gooey goodness.
Vegetarian Option – Replace chicken with sautéed mushrooms, beans, and extra vegetables.
Dairy-Free Version – Use plant-based cream cheese, sour cream, and shredded cheese alternatives.
Crispy Tortilla Top – Sprinkle crushed tortilla chips on top before baking for a crunchy finish.
FAQs
Can I use raw chicken instead of cooked?
Yes, but cook it first—sauté diced chicken in the pan before adding the vegetables.
Can I make this ahead of time?
Absolutely. Assemble the casserole, cover, and refrigerate for up to 24 hours before baking.
What cheese works best?
A Mexican blend, Monterey Jack, or cheddar melts beautifully and adds great flavor.
Can I use fajita mix from a packet?
Yes, pre-made fajita seasoning packets work perfectly.
How do I make it spicier?
Add chili flakes, diced jalapeños, or hot sauce to the cream mixture.
Can I freeze this casserole?
Yes, either before or after baking. Wrap tightly in foil and freeze for up to 2 months.
Can I add pasta instead of rice?
Yes, mix cooked penne or rotini into the chicken mixture for a Tex-Mex pasta bake.
How do I keep the casserole creamy after reheating?
Add a spoonful of sour cream or milk before reheating to restore moisture.
What should I serve with it?
It pairs beautifully with rice, tortilla chips, or a simple side salad.
Can I make it in an air fryer?
If using smaller portions, yes—bake at 350°F (175°C) for about 10 minutes until hot and bubbly.
Conclusion
This Fajita Chicken Casserole is creamy, cheesy, and packed with bold Tex-Mex flavor. It’s the perfect way to enjoy the essence of fajitas in a comforting, one-dish meal that’s simple to prepare and sure to please. From weeknight dinners to casual gatherings, this recipe delivers that sizzling fajita goodness with minimal effort—and maximum satisfaction.
Hungry for more? Visit our website for full recipes and follow us on Pinterest for daily foodie inspo you’ll love to pin!